Home
| What's New
| Features
| Gallery
| Reviews | Reference
| Forum |
Search
Home
| What's New
| Features
| Gallery
| Reviews | Reference
| Forum |
Search|
Home
| What's New
| Features
| Gallery
| Reviews | Reference
| Forum |
Search |
PYLONS AND STORES DETAILS
Things of particular interest
in this area:
(Press "Back" on your browser to return to this
list.)
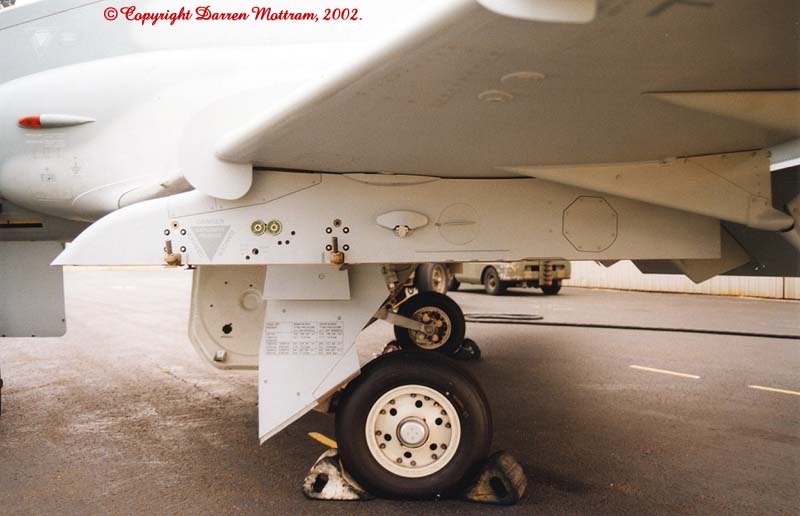
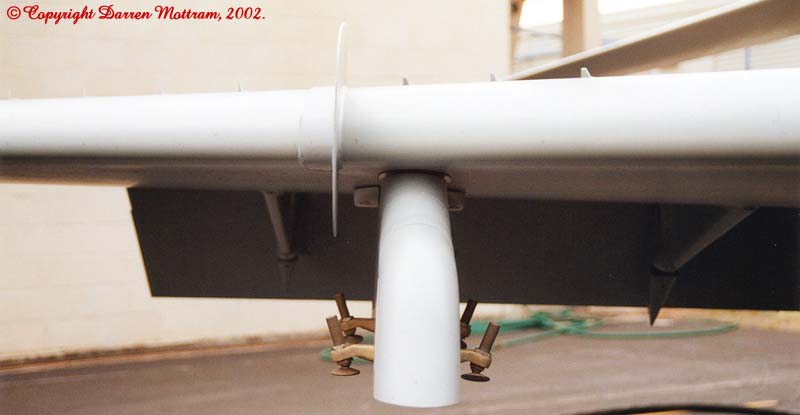
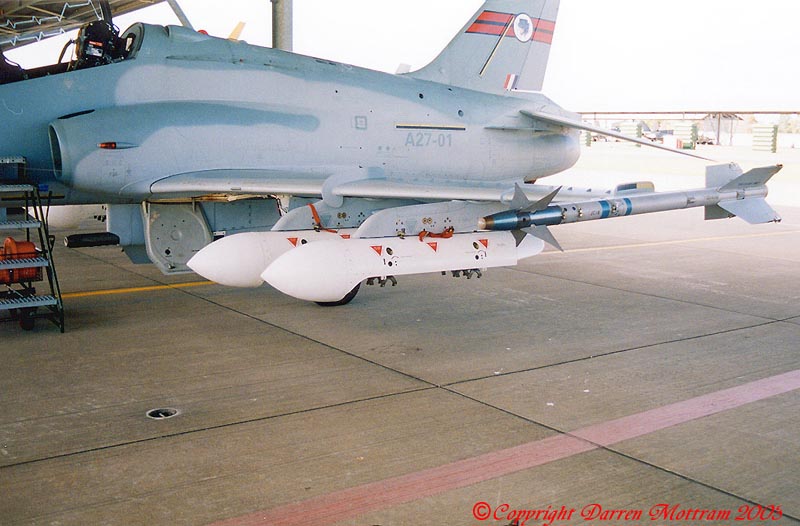
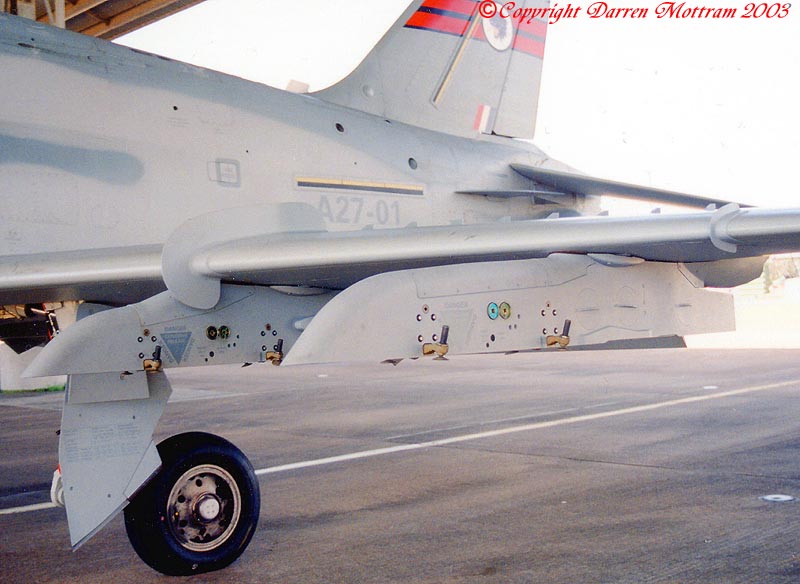
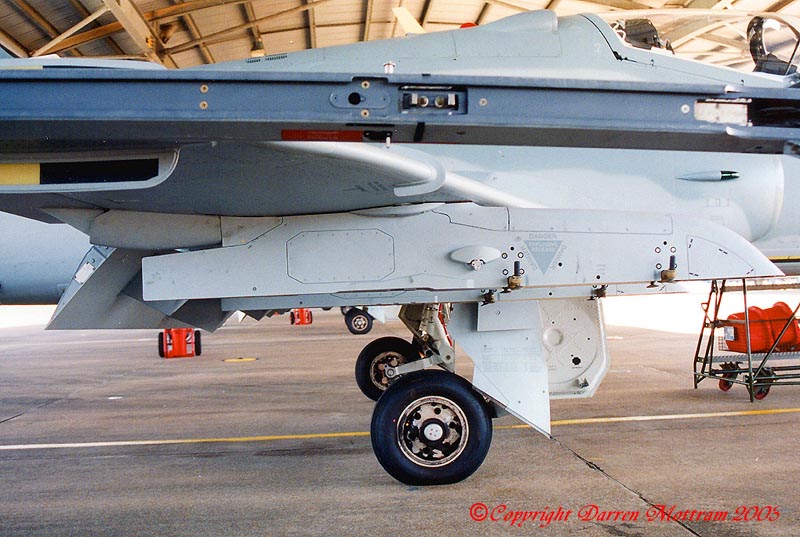
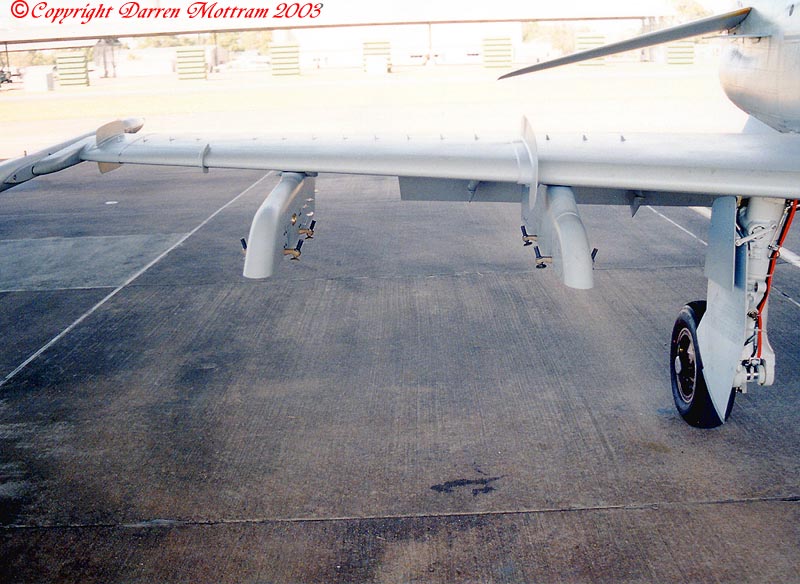
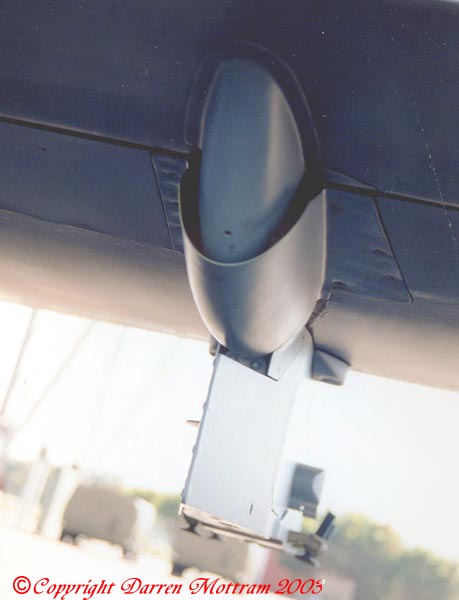
1/ The pylons are perpendicular to the bottom of the wing, not the ground, which gives them a slight outward cant. The stores hang perpendicular to them too so likewise with the angles. (Photo 3, Photo 5, Photo 14)
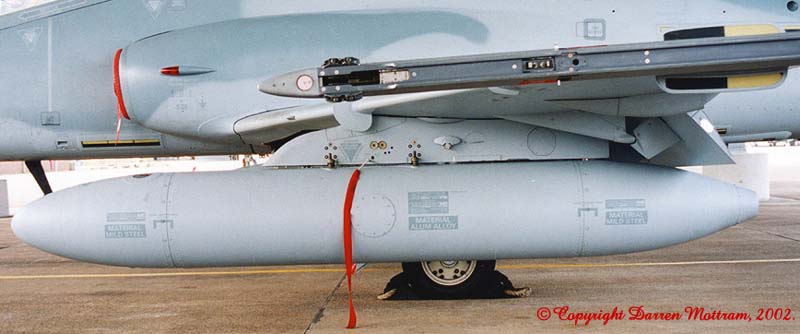
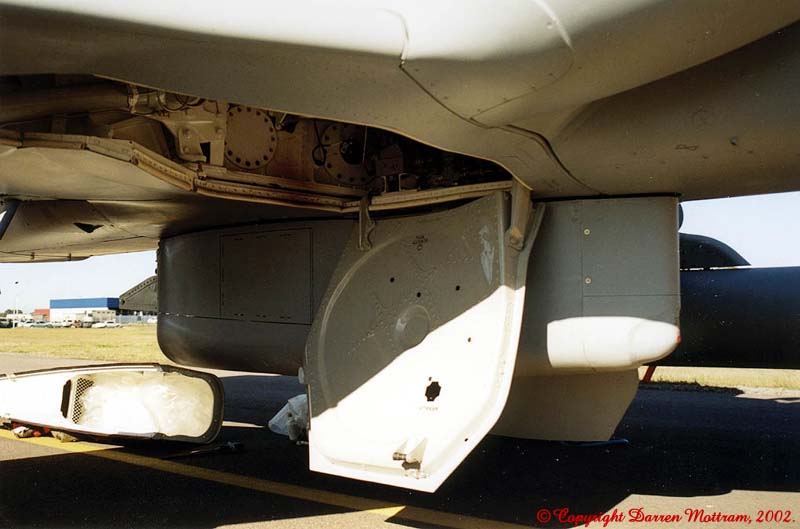
2/ The clearance between the flaps and the tanks is quite close. (Photo 6, Photo 7)
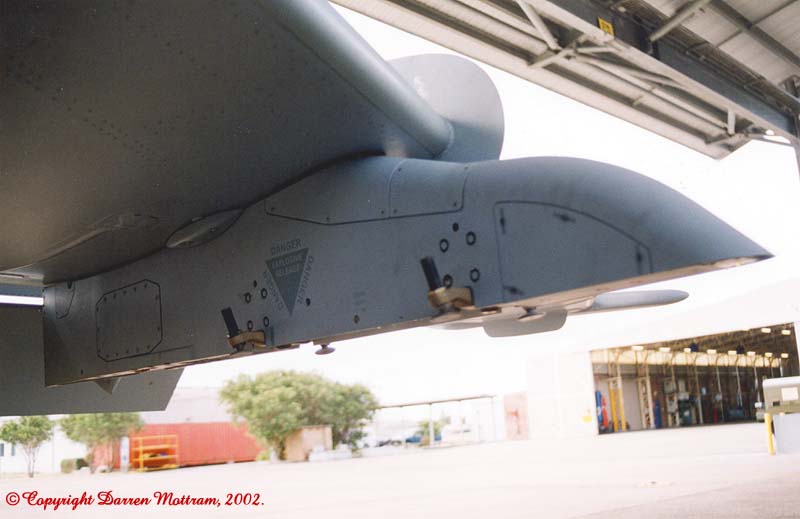
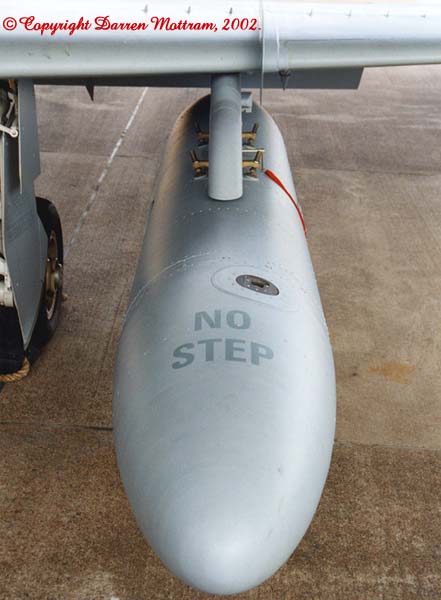
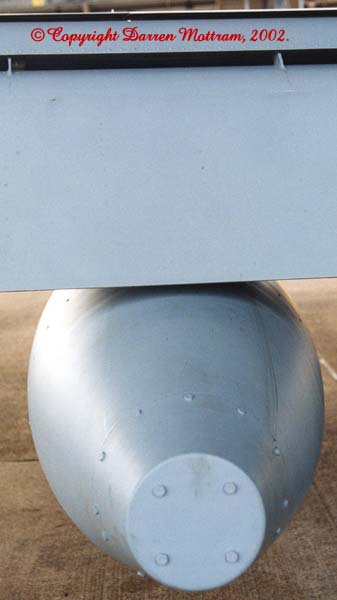
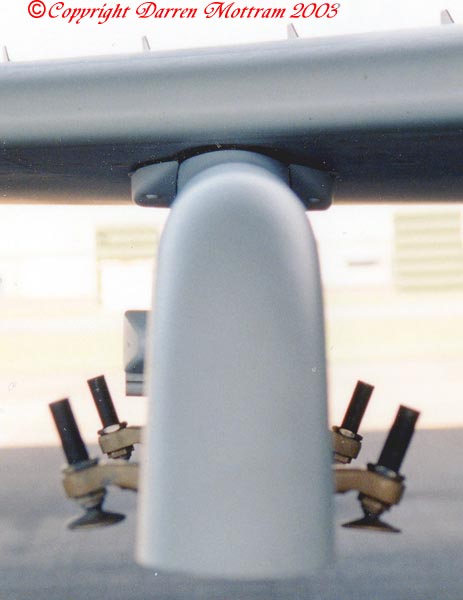
3/ Our jets almost always have the inboard pylons fitted. It is quite rare to see one without them. (Photo 1, Photo 2, Photo 3)
4/ The sway braces are still fitted to the pylons when no stores are carried. (Photo 1, Photo 2, Photo 3)
5/ The Mk 127 uses the same 30mm gun pod as seen on previous Hawks. (Photo 8, Photo 9, Photo 10)
6/ The gun pod may also be used as a baggage pod. When this is done, the front has a sealed cap fitted and all other openings are taped over. (Photo 11)
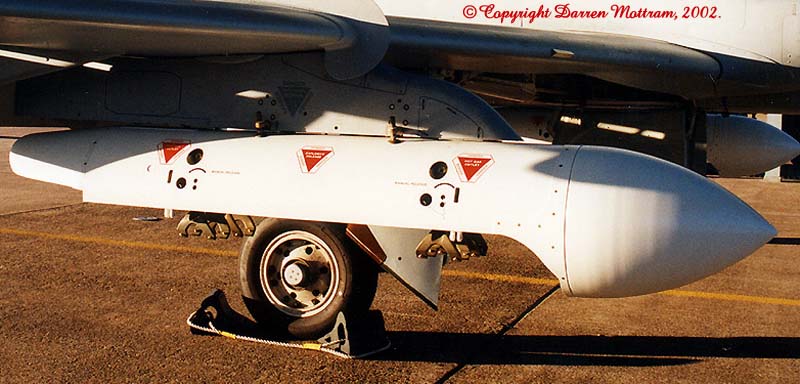
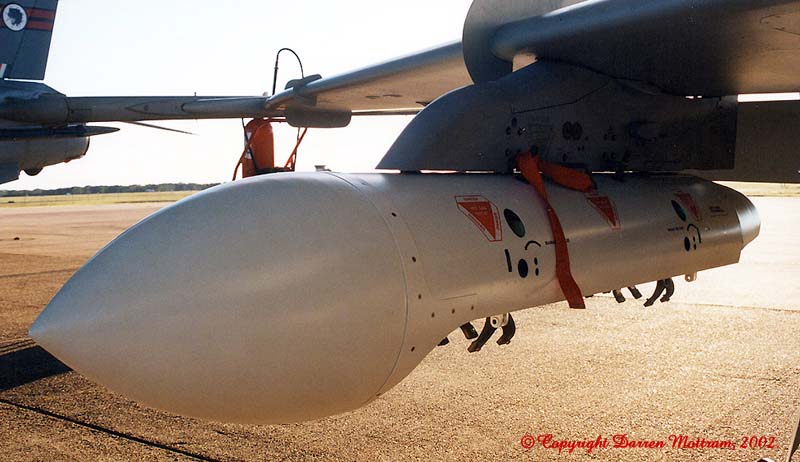
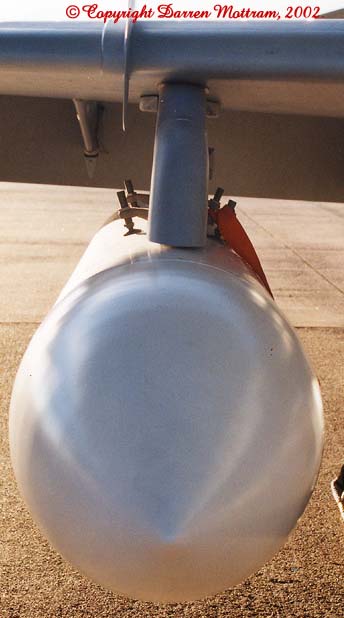
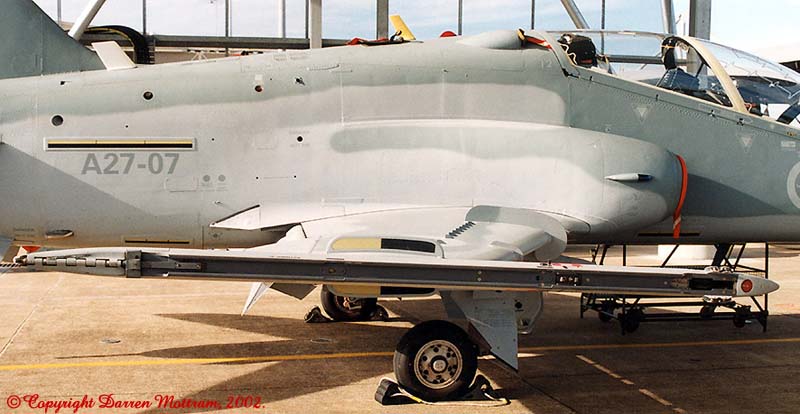
7/ The RAAF uses the Carrier, Bomb, Light Stores (CBLS) to deliver the practice weapons used on the Hawks. (Photo 12, Photo 13, Photo 14, Photo 15)
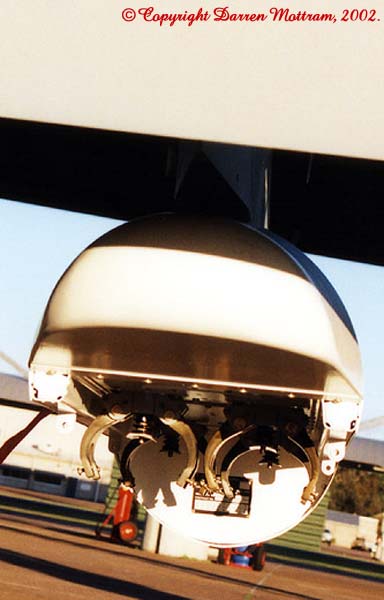
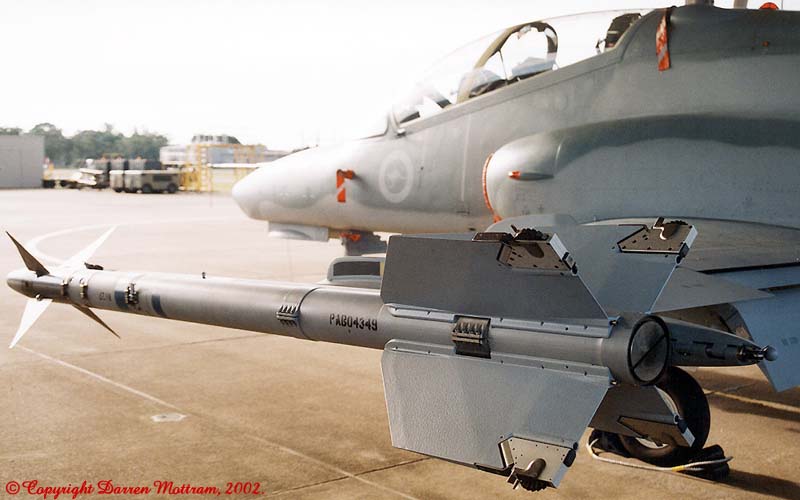
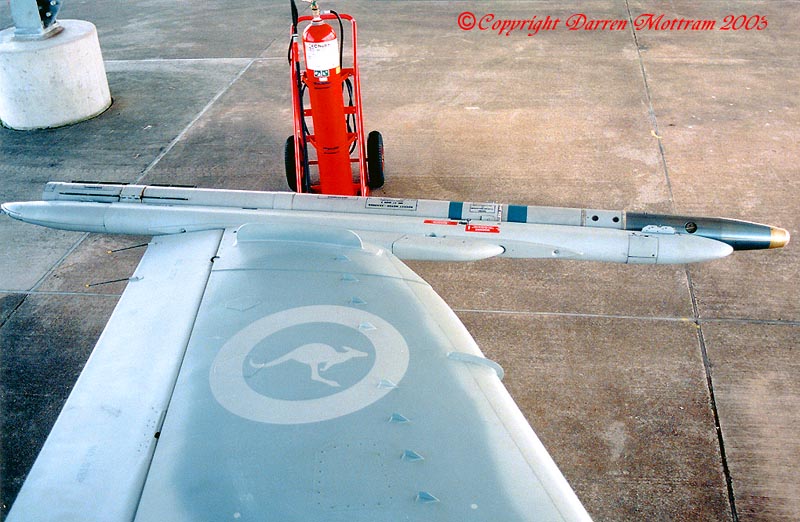
8/ Note that the shape of the wing tip doesn't match that of the Sidewinder launcher so that you can still see part of the face of the wing tip when the launcher is fitted. (Photo 16)
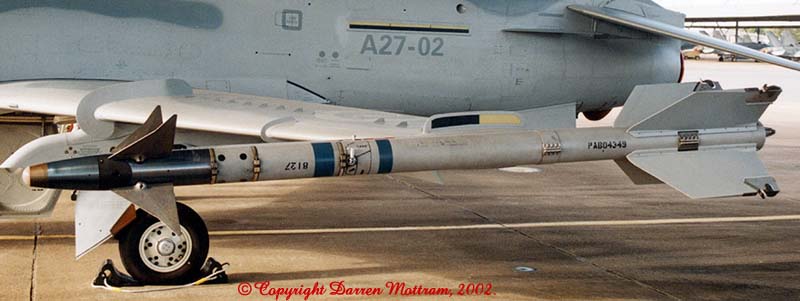
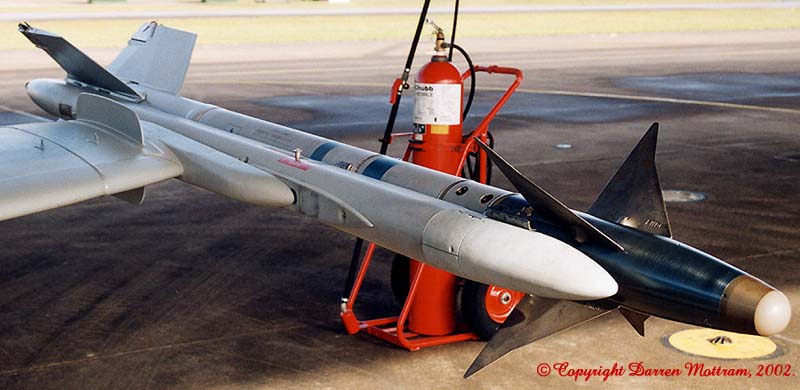
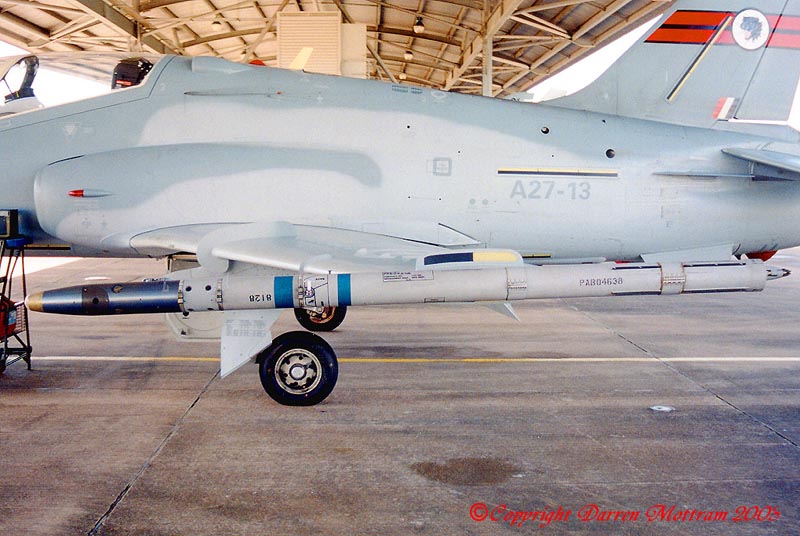
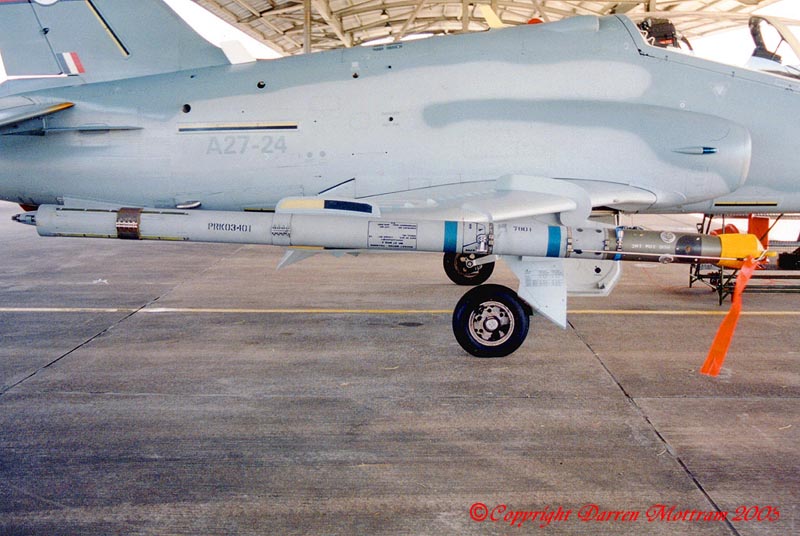
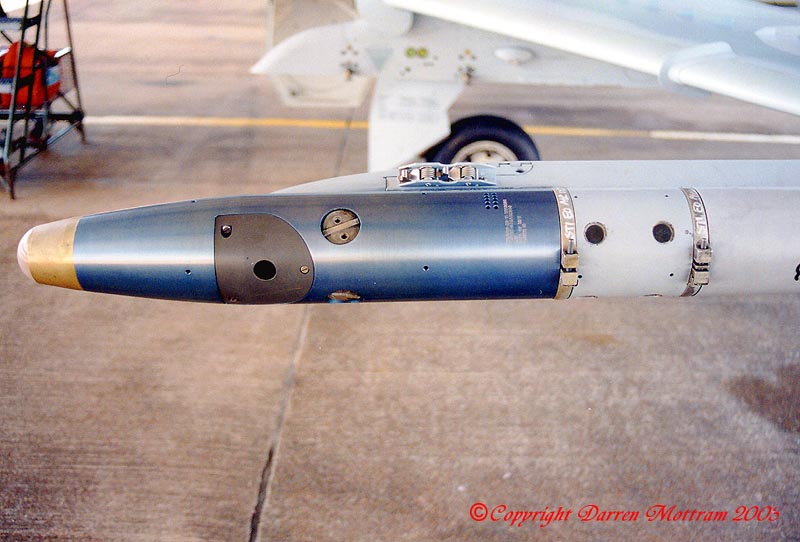
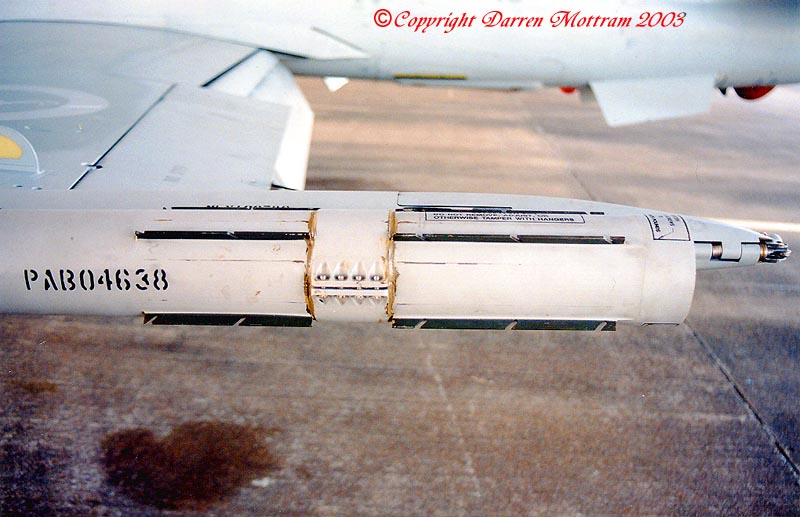
9/ When Sidewinder dummys are fitted, the ones with metallic blue heads don't have caps fitted. The ones with metallic green (an olive drab sort of colour) heads do (there will be one of each type fitted). The colours of the bodies of these stores can vary from greys to various blues with no particular pattern but the grey ones will have blue bands applied. (Photo 18, Photo 19, Photo 20, Photo 21, Photo 22)
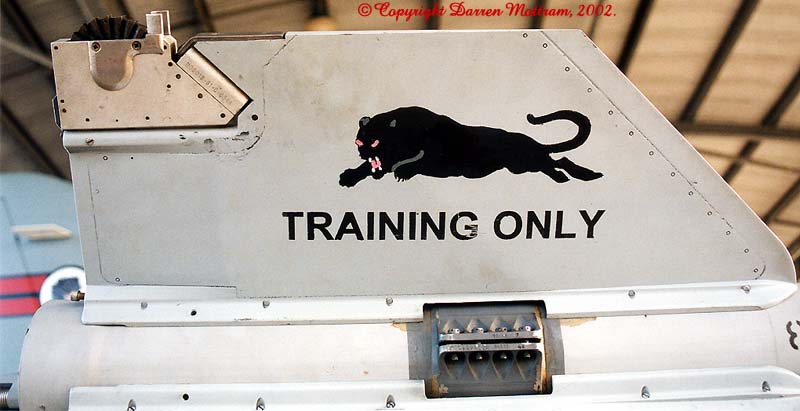
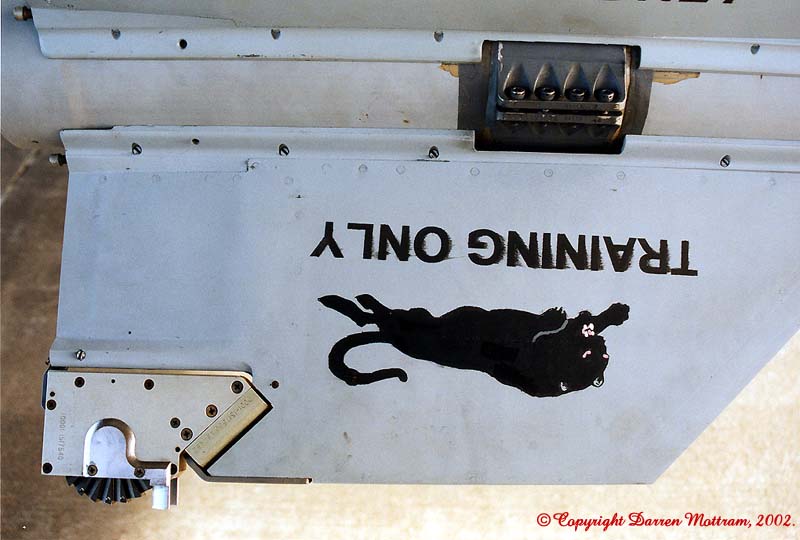
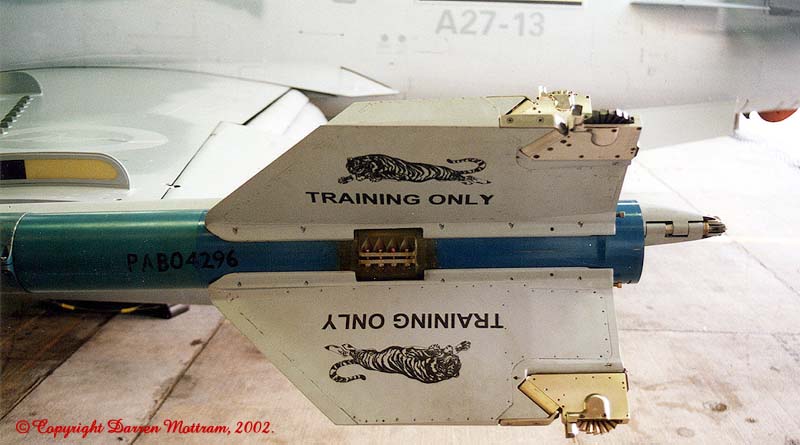
10/ 76 Squadron has been quick to add some "personal touches" in some areas. (Photo 23, Photo 24) Although evidence of previous ownership can still, occasionally, be found. (Photo 25)
Additional details (added 13 December
2003)
11/ Shortly after
I prepared the original of this article, 76 Squadron began carrying the
training sidewinder rounds with the fins removed. (Photo
26, Photo 27, Photo 28,
Photo
29, Photo 30, Photo 30.5
)
12/ The colour of the heads of training rounds remains the same as for para 9. The bodies vary between training blue and grey with blue bands (grey with blue bands is most common)
13/ The jets have
also started carying outboard pylons (Photo
31, Photo 32, Photo 33,
Photo
34, Photo 35, Photo 36,
Photo
37)
|
Text and Images Copyright © 2002 and 2003 by Darren
Mottram
Back to Hawk Walk Around Main Page
Used with the permission of BAE SYSTEMS and the RAAF Page Created Saturday 02 February, 2002 This page last updated on Saturday 13 December, 2003 Back to HyperScale Main Page Back to HyperScale Reference Library
|