RAAF
BAE SYSTEMS
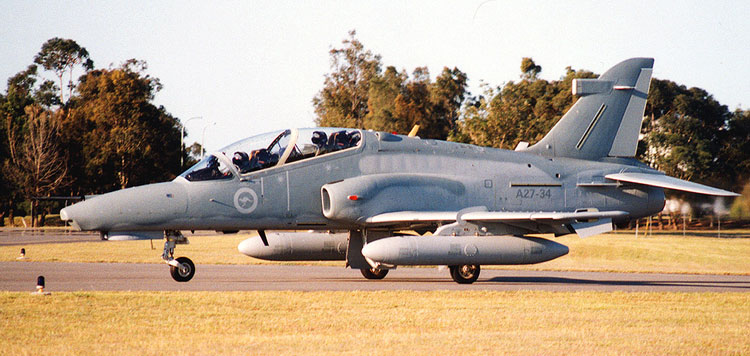
Hawk 127 LIF
Part
Five - Detailed Walk Around
Text
and Photos by Darren Mottram
With the availability of the BAE Systems Hawk 127 LIF in model form
from recently from Italeri (in 1/72 scale) and the more recent announcement
in 1/48 scale from High Planes Models, I would like to round out this collection
of articles with a detailed series of walk around images to allow the modeller
to get the best from their chosen kit.
In particular I am pleased to be able to include in this article, the
first, thorough coverage of the new generation cockpit found on the Hawk
127 Lead In Fighter (LIF).
I would like to express my deepest gratitude to the members of 76 Squadron,
Royal Australian Air Force (RAAF) and BAE SYSTEMS for giving me the
permission and opportunity to be able to share this information with
you all.
Text and Images Copyright © 2002 by Darren
Mottram
Used with the permission of BAE SYSTEMS and the RAAF
Page Created Saturday 02 February, 2002
This page last updated on Saturday
02 February, 2002
Back to HyperScale Main Page
Back to HyperScale Reference Library |
 Home
| What's New |
Features
| Gallery | Reviews
| Reference |
Forum
|
Search
Home
| What's New |
Features
| Gallery | Reviews
| Reference |
Forum
|
Search